Introduction
In this exercise we will translate a DWG file representing traffic signals to Esri shapefile (SHP). The signals are stored as blocks in the DWG file, and there is a text entity which holds the signal ID. Our goal is to:
- translate the block in insertion point into a single point in our output shapefile, and
- move the signal ID into an attribute of the point.
This transformation highlights one way to work with AutoCAD block entities in FME: not exploding blocks (preserving their insertion points) works well when translating to a format that does not store such complex entities, or require single geometries in the output.
Downloads
- trafficsignals.zip{#15813}
- preserveblocks-begin.fmwt{#15811}
- preserveblocks-complete.fmwt{#15812}
Source Data
The data used in this exercise originates from open data made available by the City of Vancouver , British Columbia. It contains information licensed under the Open Government License - Vancouver.
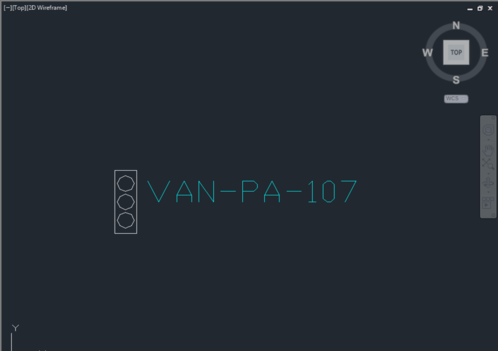
In the image below, we see an example of one of the traffic signals in this DWG file. The traffic signal is stored as a block.
In addition to this block there is a text label indicating an ID for the signal. This is not contained within the block, but rather it is stored on the TrafficSignals layer along with our block.

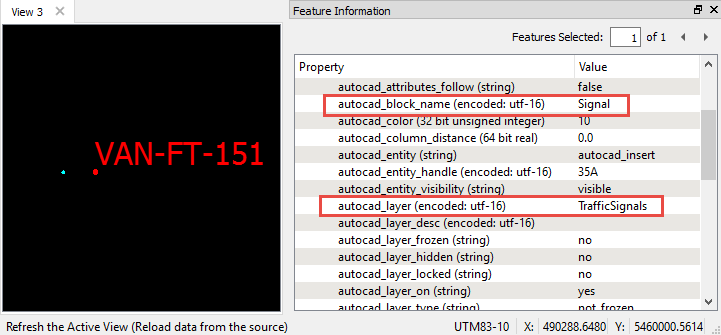
Let's see how FME handles this data by looking at the DWG file in the FME Data Inspector, with the reader parameter Explode Blocks into Entities unchecked:

FME has read the \'insert point\' of the blocks, which represents the location of the block (in blue). Note that the red point represents the text insertion point, which is different. The blue insert point is what will be translated to the SHP file. The text representing the signal id\'s is also stored on the TrafficSignals layer, and is moved onto the insert point using a NeighborFinder transformer.
Step-by-Step Instructions
1) Start Workbench and add an AutoCAD DWG/DXF Reader to a blank workspace.
In the Add Reader dialogue, select AutoCAD DWG/DXF for the reader, and the trafficsignals.dwg file for the dataset.
Click on the Parameters button.
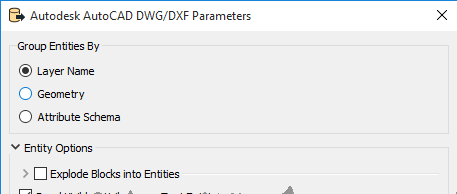
Ensure 'Group Entities By' is set to 'Layer Name'.
We want to keep the block preserved as one single entity (point), so do not explode the blocks in the reader parameters:

Click OK twice.
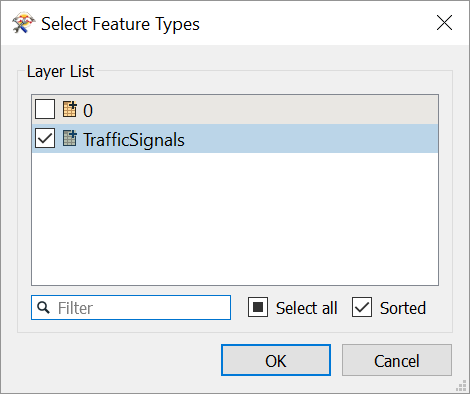
We only need the TrafficSignals feature type, so deselect the '0' feature type in the Select Feature Types dialog.

2) Expose autocad_text_string
Open TrafficSignals reader feature type in the Parameter Editor window by clicking on it. Click on the Format Attributes tab. Check autocad_text_string. Click Apply. We will work with this attribute later.
3) Add GeometryFilter
Open the GeometryFilter transformer in the Parameter Editor window by clicking on it. Separate the points (which represent block insertion points) from the text (which represents Signal ID\'s) by selecting 'Points' and 'Text' under 'Geometry Types to Filter'. This prepares the data for the NeighborFinder.
4) Add NeighborFinder
Connect the points from the GeometryFilter to the Base port of the NeighborFinder. Connect the text output from the GeometryFilter to the Candidate port.
Open the NeighborFinder transformer in the Parameter Editor window by clicking on it. Set the Maximum Distance to 5 (use the Measure tool in the Data Inspector to confirm this is a good number to use). Click Apply.
5) Add AttributeRenamer
Rename autocad_text_string to SignalID.
6) Add an Esri Shapefile writer
From the Writers menu, select Add Writer.
Add an Esri Shapefile writer. Select a location for the dataset. At the Shapefile Definition drop-down, select Manual. Click OK.
7) Connect the output port from the AttributeRenamer to the writer
Open the writer parameters dialog. Select the 'User Attributes' tab. Add the attribute that you created in the AttributeRenamer (SignalID). Click Apply.

8) Run the workspace, and inspect the output data
You will now see single points that have the text label as an attribute in the attribute table.

DWG text label as an SHP attribute in Data Inspector.